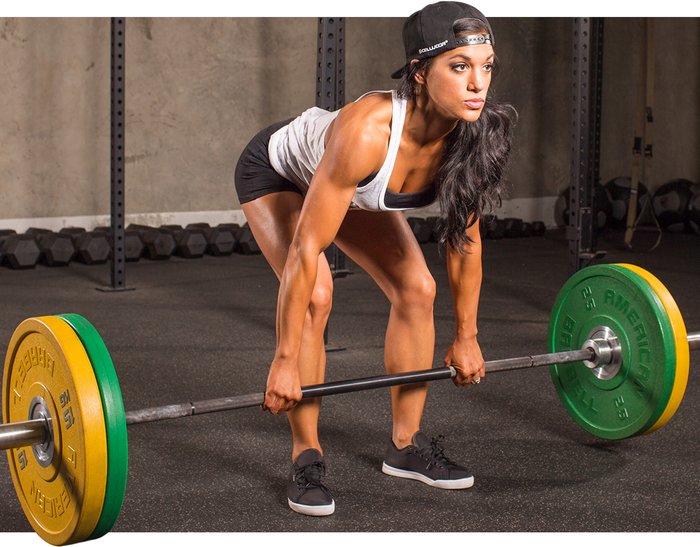
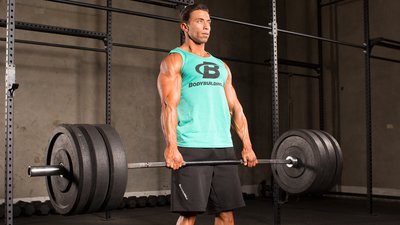
Lots of people like lots of things about deadlifts. I'm no exception. But what I like most about it is the "dead" part. It's not called a bouncelift, after all (although some people certainly try to make it one).
Unlike the squat and the bench press, both of which start with an eccentric or yielding action, the deadlift starts with a concentric or overcoming action. You set up, and then it's you versus the bar. You're either standing up with the barbell and locking it out like a boss, or you're not. Sure, we argue about whether it's a good idea to get that weight up with a back position that resembles the St. Louis Arch (hint: it's not), but that's a conversation for another time.
If only other movements were more like the deadlift! The world would be a stronger—if deader—place.

But wait...what's that zombie-like groaning sound coming from other parts of the gym? The deadlift can, in fact, infect your other lifts! Here's how you can use the best part of the deadlift to make you stronger at four other crucial moves.
What's so Special About Being Dead?
Moving a weight from a dead stop offers a number of benefits, both physical and mental. Seriously! Stick with me.
- Because the lift doesn't begin with an eccentric action, it omits the stretch-shortening cycle, or that moment where you get an elastic boost from the stretch reflex of your muscles reaching the end range of their flexibility. This stresses the concentric or lifting component of the lift.
- Dead-start exercises also allow trainees to work and get stronger within ranges of motion where they're weakest. These are especially useful with the bench press and squat.
- Starting from a dead stop allows a unique opportunity for the lifter to marinate in the moment and do a physical and mental checklist of joint position before charging into the next repetition.
1. Dead Squat
There are various ways to approach this exercise, but I see this as more of an accessory movement that should complement the back squat or deadlift, rather than a movement all its own.
You can perform this exercise with a lower hip position and have it match your squat depth, but I prefer to use it as a way to enhance my deadlift. In the video above, I set my hips in a way that matches my deadlift stance—I tend to use a modified sumo stance when I pull. Then I'll typically perform the exercise in sets of 1-3, although singles are my favorite.
Once you set the pins at a height that emulates your deadlift, find your "shelf" where the barbell will lie by retracting or squeezing your shoulder blades together. I prefer low-bar position when building the deadlift is the goal. Another cue I use to help with upper-back tension is to pretend as if you're trying to get your elbows to touch.
Make sure to get your chest up, have a neutral spine position, and get plenty of air, then explode off the pins with intent. Control the barbell back to the pins, stop, reset, and repeat for your allotted repetitions. Like I said, I prefer singles for this exercise with 65-80 percent of your deadlift 1RM. That way, you ensure bar speed will be emphasized.
These are a great accessory exercise on "heavy" deadlift day, like this:
- Deadlift: 3-4 sets of 2-5 reps.
- Dead squat: 8-10 sets of 1 rep, with 65-80% of 1RM, every 30-60 sec.
2. Dead Bench or Pin Press
These are brutal.
If you polled most lifters and asked them where they tend to fail on their bench press, 9 out of 10 would say in the 1-3 inches off the chest. If you fall into that camp, the dead bench may be exactly what you need.
Set up the pins so that the barbell is resting 1-3 inches off your chest. All the other classic bench cues apply here: shoulder blades retracted and depressed, slight arch in your lower back, glutes squeezed, and heels pressing into the ground. Now press.
Much like the dead squat, I prefer to use this exercise as an accessory movement and in low rep ranges, like 1-3. The idea here is to be explosive. So, again, using a load that's in the range of 60-80 percent of your bench max is ideal.
3. Dead Rows
I like this variation better than traditional dumbbell rows, because it hammers home the idea that the shoulder blades are supposed to move throughout the duration of a set.
I get that one of the reasons to perform rows is to strengthen the scapular retractors and upper-back musculature. However, a common mistake I see a lot of trainees make is retracting their shoulders—which is good—and then keeping the shoulder blades retracted or "glued" together the entire time, even during the lower portion—which is bad. This goes in the face of basic scapular mechanics, since they're supposed to move both ways.
On a larger level, this retracted-at-all-costs approach can contribute to things like anterior humeral glide and scapular downward rotation syndrome, aka shoulder and biceps tendon ouchies.
I like to cue my clients and athletes that the shoulder blades should move around the ribcage during rowing movements, and the dead row is a great way to reinforce this. You should feel a decent stretch when you lower the dumbbell towards the floor.
Another cue to get the most out of this movement is to bring your elbows to your hips. This will help keep the elbows from going too far past the midline of the body, a flaw which defeats the benefits of the row.
If your elbows are jammed back behind your body, it's pretty hard to retract the scapula. All you're really doing is making the upper arm bone glide forward, which is both bad rowing and bad news for your shoulder.
4. Dead Single-Legged RDLs
Single-leg movements are great! Except, of course, when they're ugly. And unsupported—i.e., no balance help from a step or bench—movements like a single-legged Romanian deadlift can get ugly pretty quickly.
I often find the quick fix is to have people start in the bottom position. Here, as mentioned above, it allows an opportunity for them to feel and "own" the appropriate joint positions before the movement starts.
A few key coaching cues to consider with the single-legged dead Romanian:
- The backside should be long. I like to tell people they're Luke Skywalker and Han Solo in the trash compactor in "Star Wars: A New Hope" and they're trying to prevent the walls from crushing them. The idea is to "push" or "lengthen" the head and foot as far away from one another as possible: the head toward the front wall, the heel toward the back wall. If they've never seen "Star Wars," I politely tell them to leave.
- The big toe of the free leg should be pointed toward the floor the entire time. Basically, the hip shouldn't rotate.
- The standing leg should have a soft knee at the bottom of the movement but lock out at the top.
- Don't think about lowering the weight with your arms. The only way the weights get closer to the ground is by hinging back at the hips.
Get Deader, Get Better
The first time you perform them, all four of these movements should give you an ego check. They'll make relatively light weights feel heavy and ego-boosting weights feel impossible. This is a good thing! And it's just the sort of thing that a good trainer should do to you now and again. Sorry (not sorry).
Stick with them for a while, though; you'll build up where you're weak and add pounds to your big lifts. That's enough to make anyone a grateful dead-head.

